Bird ringing (the British term) or bird banding (the North American term) is the process of fitting a small, lightweight metal or plastic band engraved with a unique serial number onto a bird's leg using special ringing pliers. Scientists and licensed banders use this technique to track migration, survival rates, population trends, and individual bird movements over time. The Smithsonian National Zoo describes the U.S. program as using aluminum bands, sometimes combined with colored plastic bands, with all records maintained by the federal Bird Banding Laboratory (BBL). It is a serious conservation tool, not a casual DIY project, and that distinction matters a lot before you touch a single bird.
Safe handling basics before you attempt anything
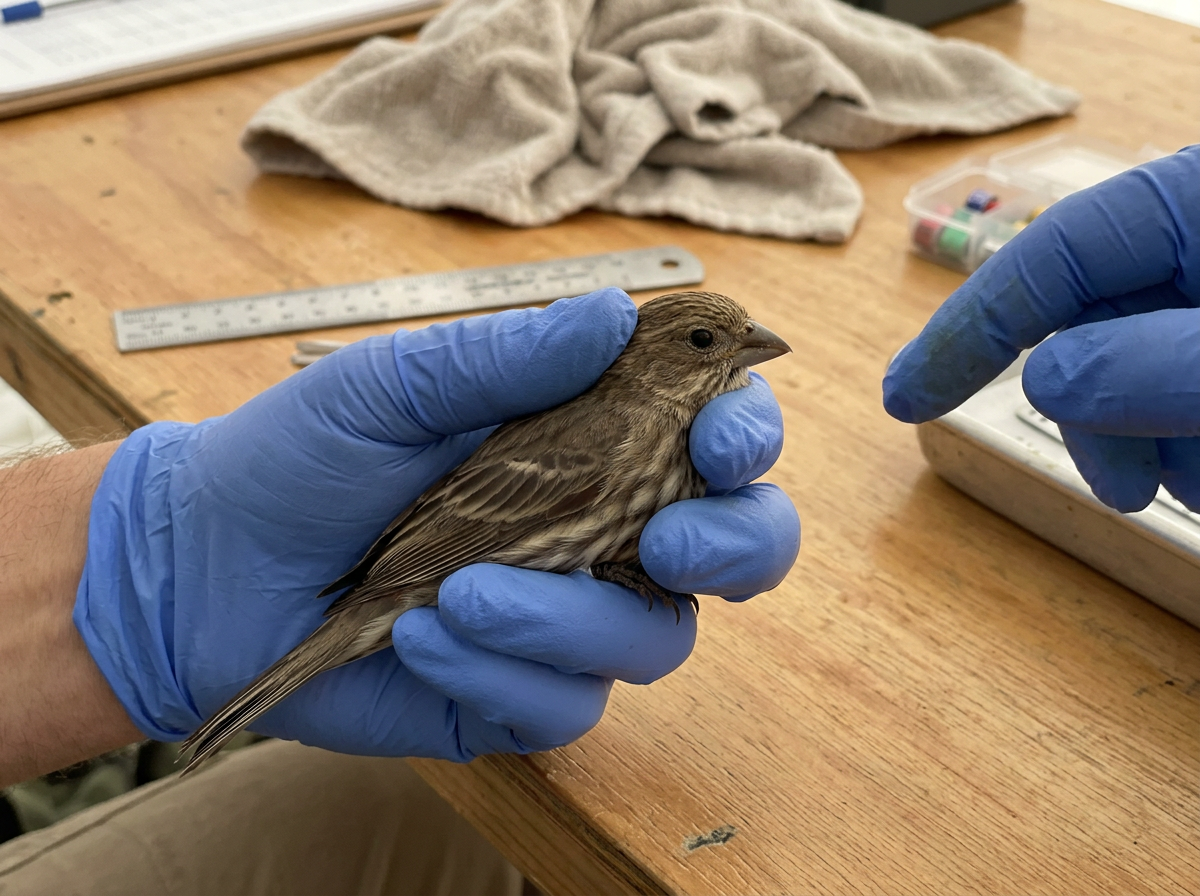
Before even thinking about applying a ring, you need to understand how to hold a bird without harming it. Birds have a fragile respiratory system, meaning that any constriction of the chest can be fatal within seconds. The USFWS has published bird-handling instruction material specifically for banding and survey events, and the core rule is simple: never squeeze the body. Instead, hold the bird in what is called the "photographer's grip" or the "bander's grip," with the bird's body resting gently between your fingers and its legs secured between your index and middle finger.
- Keep handling time as short as possible. Stress and physical restraint both carry real risk.
- Work in a shaded, calm environment. Heat and direct sun add stress rapidly.
- Never cover a bird's nostrils or press on the keel (the breastbone ridge) at the center of its chest.
- If the bird is panting or closing its eyes, stop immediately and allow it to recover in a secure, ventilated container.
- Wear thin nitrile gloves if you are unfamiliar with the bird species, especially with raptors or waterbirds that can cause serious injury.
- Have a partner present whenever possible. One person handles the bird; the other manages the equipment.
The North American Banders' Manual for Hummingbirds explicitly recommends minimizing all restraint time and establishing contact with a wildlife rehabilitator or veterinary practice before you begin, so you have somewhere to turn if something goes wrong. That advice applies to every species, not just hummingbirds.
The legal situation you must understand first
Here is the part most people skip, and it is the most important part of this whole guide. In the United States, banding migratory birds without a permit is a federal offense under the Migratory Bird Treaty Act (MBTA). The USGS Bird Banding Laboratory states clearly that a Federal Bird Banding and Marking Permit is required before conducting any banding or marking activities on migratory birds. Applications go through the BBL and are submitted using Form 3-200, as specified under 50 CFR § 13.11. You also need to provide a CV, training documentation, a project description, and references. The USFWS even offers an introductory online course, "Fundamentals of Bird Banding (Passerines)," as required training before you can be permitted for passerine banding.
If you are in Canada and want to band birds in the United States, Environment and Climate Change Canada guidance is clear: you must contact the USGS BBL separately to acquire the appropriate U.S. federal permits. Canadian permits do not carry over. The bottom line is: if you do not already hold the correct permit, you cannot legally ring a wild migratory bird in North America. Apply for the permit first, complete the required training, and then proceed with the steps below.
Step-by-step: how to add a band or ring
These steps assume you are a permitted bander or are working directly under a licensed bander's supervision. Do not attempt this on your own without a permit.
- Capture the bird using an approved method (mist nets, traps, or nest boxes, depending on the species and your permit conditions). Never use methods not covered by your permit.
- Assess the bird immediately. Check for injuries, signs of disease, abnormal breathing, or unusual tarsus thickness. If the bird appears sick or injured, stop and contact a licensed wildlife rehabilitator before proceeding.
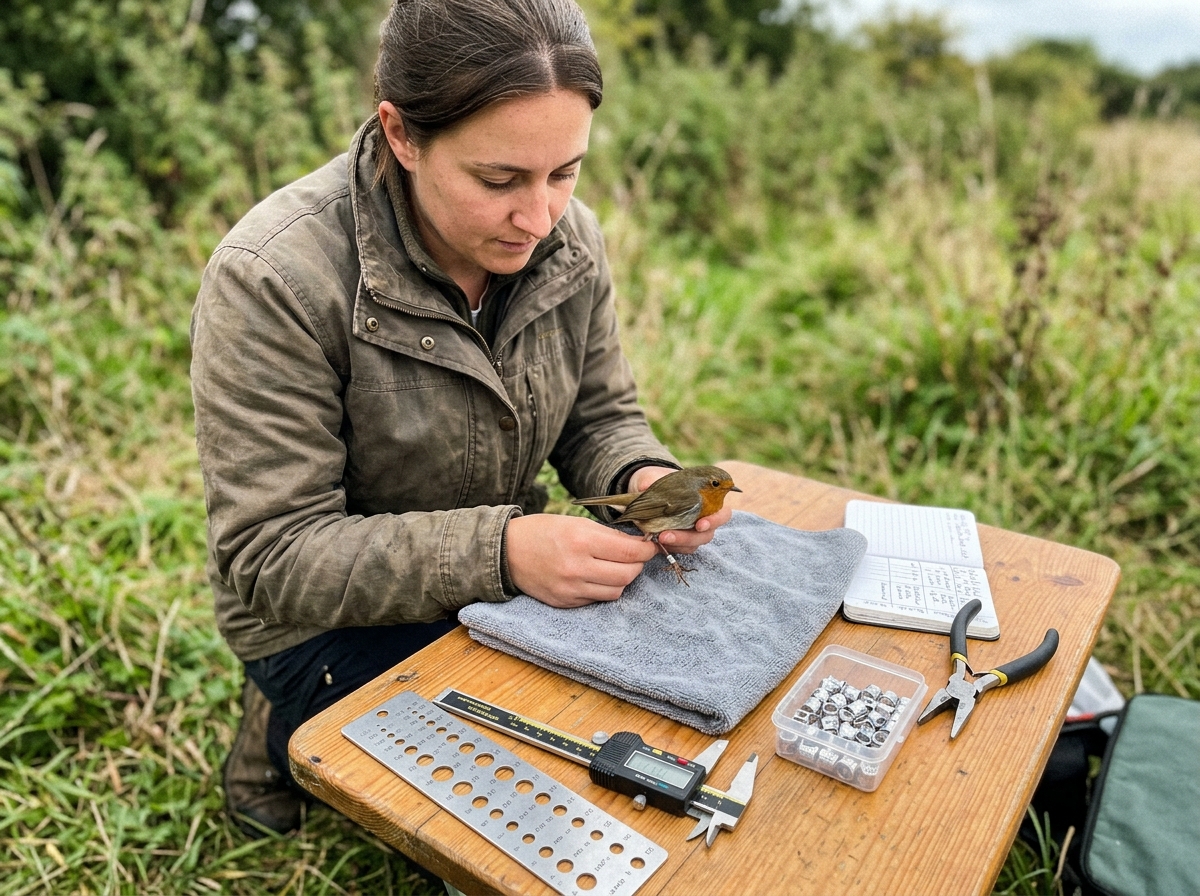
- Measure the tarsus (the lower leg segment) at its widest and narrowest points using calipers. This measurement determines which band size you need.
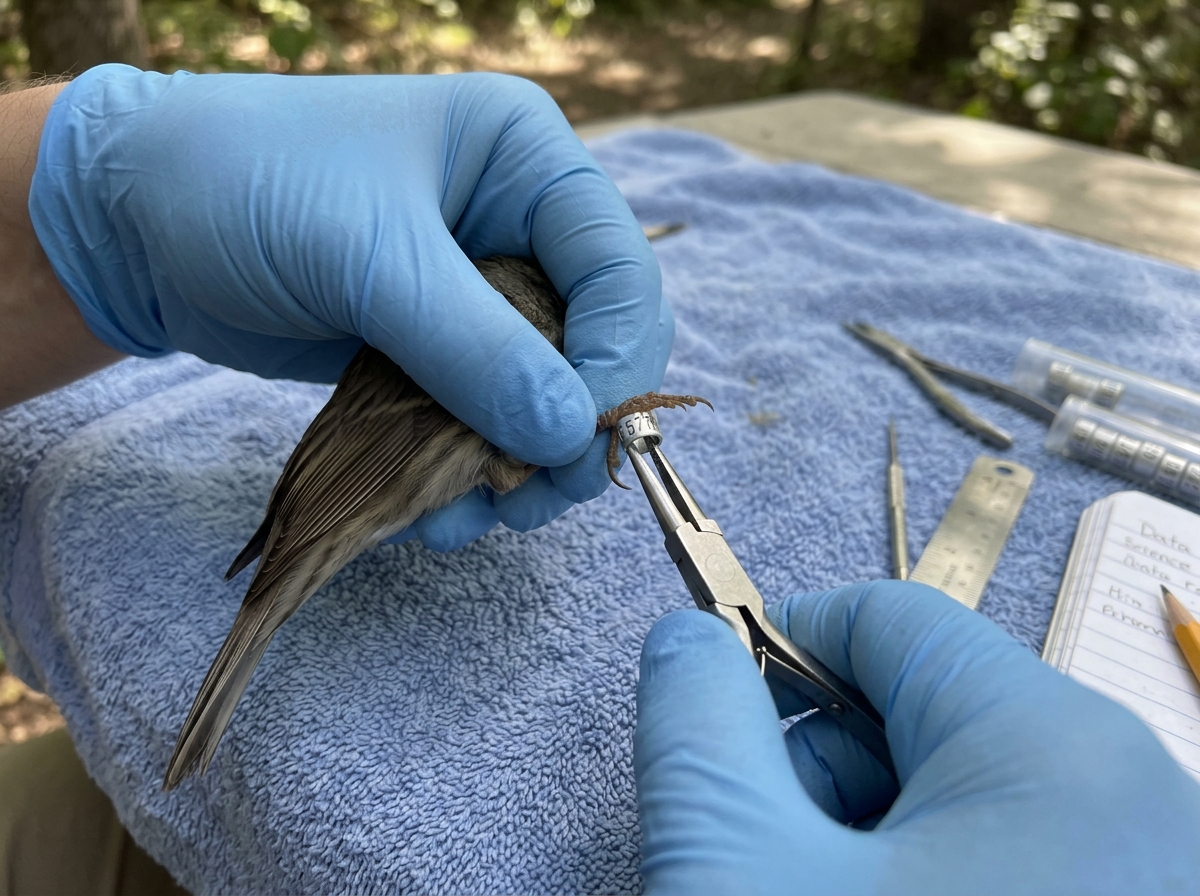
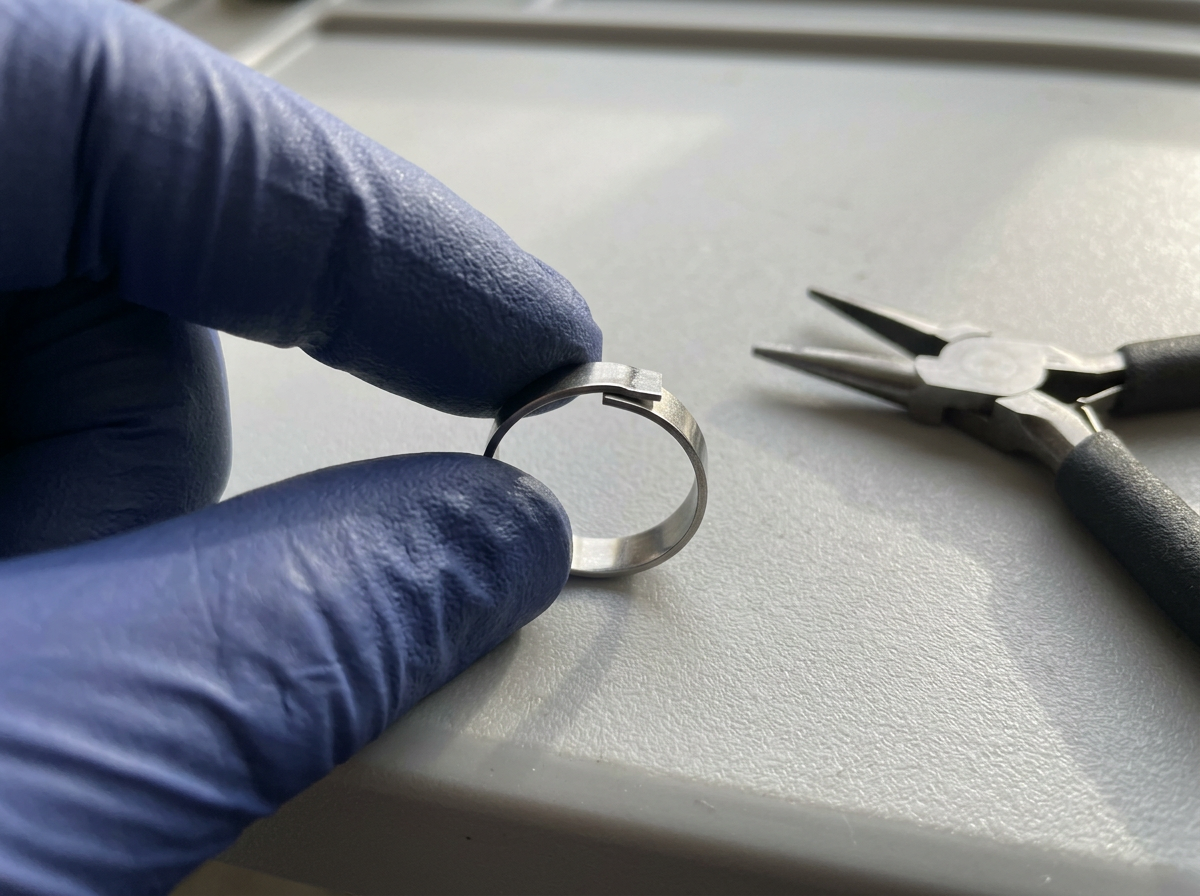
- Select the correct band size and type (see the sizing section below). Open the band slightly using ringing pliers so it can slide over the foot without forcing.
- Place the thickest part of the tarsus into the slot of the open band first. This follows the guidance in the North American Banders' Study Guide: fitting the widest section first reduces the risk of the band catching or injuring the leg.
- Close the band carefully using ringing pliers until the two ends butt together smoothly. Do not overlap them unless sizing issues require it (and even then, ensure the serial number remains fully readable). The North American Banders' Manual cautions explicitly against excess pressure or incorrect overlap during closure.
- Check the fit: you should be able to slide the band gently up and down the tarsus, but it should not be loose enough to slip over the foot or rotate freely over the joint.
- Record all required data immediately (see the reporting section below). Do not rely on memory.
- Release the bird promptly in the same location of capture, facing away from you or any obstacles. Watch for a few seconds to confirm it flies or moves away normally.
Selecting the right ring size and type
Getting the band size wrong is one of the most common and most damaging mistakes in bird banding. A band that is too tight restricts blood flow and can cause permanent injury or death. A band that is too loose can catch on vegetation, tangle with other leg bands, or slide over the joint and trap the foot. The USGS BBL Bander Portal maintains a full list of band sizes used in North American banding, including internal diameter measurements and availability flags for each size. The BTO ring size guidance adds the practical rule: if the tarsus is too thick for the recommended size, move up to the next size and butt or overlap the ring carefully, making sure the inscription is not obscured.
| Band material | Common use case | Key advantage | Key limitation |
|---|
| Aluminum (federal numbered) | Migratory bird ID, BBL program | Standardized, lightweight, permanent serial number | Single color, requires BBL reporting system |
| Colored plastic (field-readable) | Individual ID in field without recapture | Can be read at a distance with a scope | Must be used in combination with a numbered aluminum band; color fades over time |
| Aluminum plasticine-filled (duckling band) | Waterfowl and large species | Fills expanding leg as young birds grow | Not suitable for fully grown adult birds |
For most passerine banding in North America, aluminum federal bands are the primary ring used. Colored plastic bands are added as a secondary marker for studies that need individual identification from a distance, such as behavioral research or long-term population monitoring. The USGS BBL Bander Portal type code list documents all approved band types, so always cross-reference with that list and your permit conditions before ordering bands.
When in doubt about sizing, always go larger rather than smaller. A slightly loose band causes far less harm than one that constricts the leg. You can also check sizing by observing whether the band rotates freely or stays in a fixed position after closure: a correctly fitted band sits snugly but moves freely when gently pushed.
How to report and register bird banding
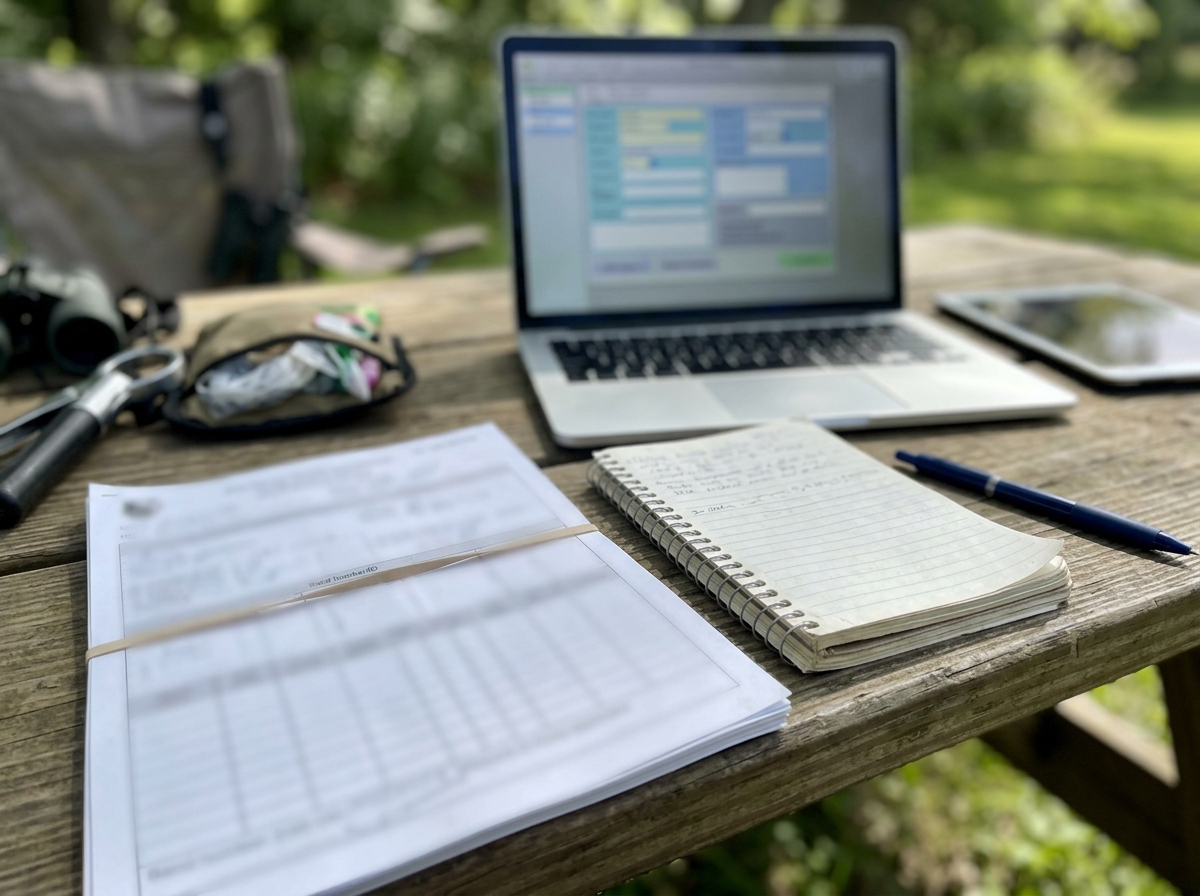
Recording and reporting data is not optional. It is the entire point of bird banding, and it is a condition of your permit. The USGS BBL uses a standardized reporting workflow, and as of July 2, 2017, band encounters (meaning any time a banded bird is found or recaptured by someone other than the original bander) are reported through the federal portal at reportband.gov. If you are the bander, your submissions go through the BBL's Bander Portal system.
The Bandit 4.0 data submission software used by many North American banders requires the following fields for every banding record:
- Band number
- Disposition (what happened to the bird: banded, recaptured, dead, etc.)
- Species (using standardized species codes)
- Age of the bird at time of banding
- Sex of the bird
- Recapture or encounter date
- Bird status (e.g., normal, injured)
- Location (using standardized directional and geographic codes)
- Auxiliary marker details (if colored bands or other markers were used)
- Present condition
Canada's banding guidance lists eight mandatory submission fields that closely mirror the U.S. system: Band Number, Disposition, Species, Age, Sex, Banding Date, Bird Status, and Location, with remarks required depending on circumstances. If you band in both countries under separate permits, make sure you are submitting to the correct national database for each banding event.
The BBL receives over 60,000 band encounter reports from hunters alone each year, which gives you a sense of how large and data-dependent this program is. Inaccurate or missing records degrade the science that the whole program is built on. Enter your data the same day you band, while details are fresh.
Alternatives if you are trying to identify or rescue a bird
If you found a bird that already has a band on its leg, do not try to remove it. Removal of a federal band without authorization is illegal. Instead, report the band number (along with the species, date, and location of the encounter) at reportband.gov. The BBL will follow up with information about where and when the bird was originally banded, which is genuinely useful data for conservation.
If you found an injured, sick, or grounded bird and you are wondering whether you should band it yourself, the answer is no. The USGS is explicit that banding of rehabilitated birds requires separate authorization from the BBL before you start. Your first call should be to a licensed wildlife rehabilitator. The National Wildlife Rehabilitators Association (NWRA) maintains a directory to help you find one nearby, and the American Eagle Foundation provides a "Find a Rehabber" resource specifically for raptors, including emergency contact guidance.
If you are trying to identify a bird (not band one), field guides, smartphone apps like Merlin Bird ID, and citizen science platforms like eBird are far more practical tools than anything involving physical capture. Banding is a research tool, not an identification shortcut.
Troubleshooting common issues and when to stop
The band won't close evenly
If the band ends are not meeting cleanly, stop and check whether you have the right size. Forcing a closure with misaligned ends creates a sharp edge that will cut into the tarsus. Try the next size up. If the band is too large and loose, it may not be appropriate for that individual bird at all.
The bird is struggling excessively
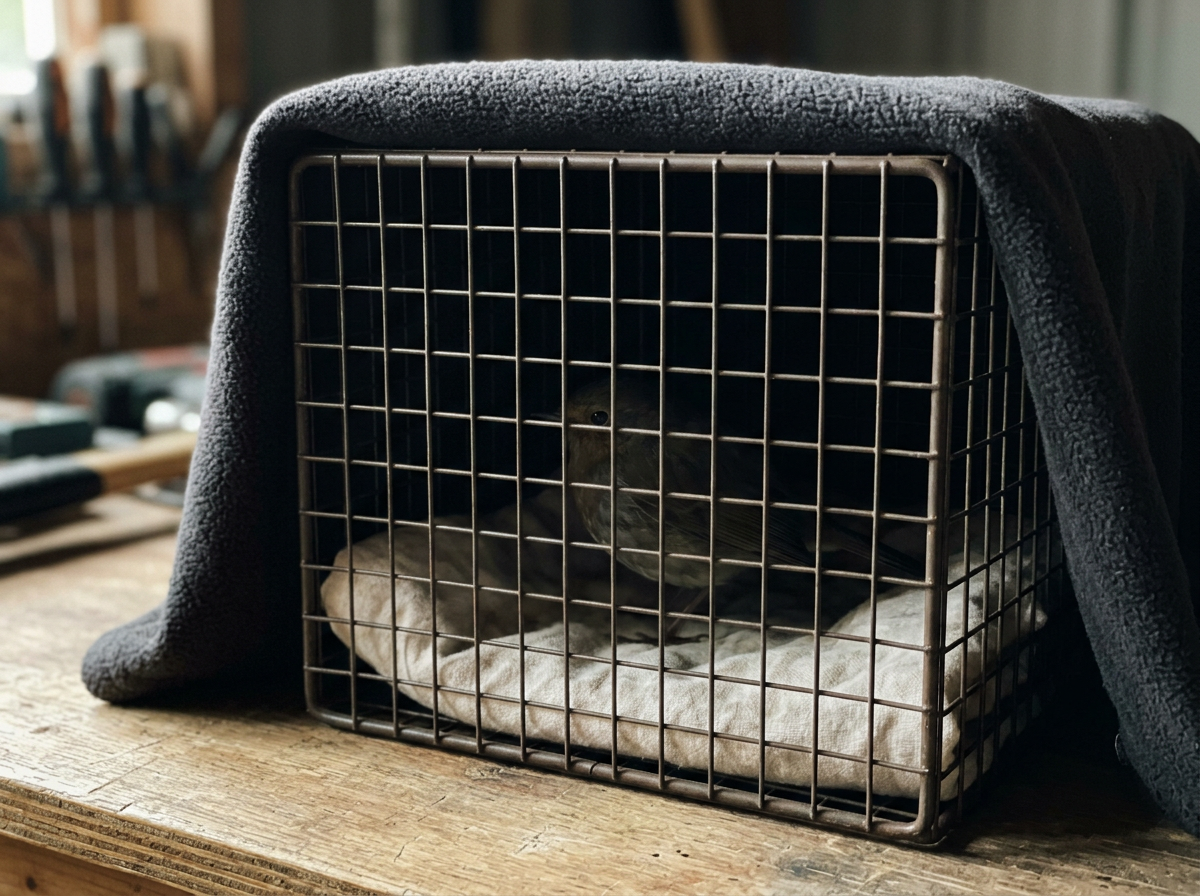
Stop handling, place the bird in a secure, ventilated, dark box, and give it 10 to 15 minutes to calm down. If it does not recover, or if it shows signs of labored breathing, drooping wings, or inability to hold its head up, do not continue banding. Contact a wildlife rehabilitator immediately.
The tarsus looks swollen or the skin is damaged
Do not band a bird with any sign of leg injury, swelling, or skin abnormality at the banding site. BTO ring size guidance specifically includes checking for diseased birds as a step in the sizing process. If you see anything that looks abnormal, the bird needs rehabilitation, not a band.
You are not sure about the species or the size
Release the bird without banding it. A bird that escapes without a band is fine. A bird that escapes with the wrong band can suffer or die. If you are uncertain, err on the side of doing nothing and consult your permit supervisor or a more experienced bander before your next session.
When to stop entirely and call a professional
- The bird is clearly injured, bleeding, or unable to stand before banding begins.
- You do not have the correct permit for the species in front of you.
- You have run out of the correct band size and the next available size seems wrong.
- The bird has been in your hands for more than a few minutes and is not calming down.
- You are working alone and something goes wrong with no backup plan.
- You captured a species you did not expect and are not trained to handle (raptors, owls, waterfowl, and shorebirds each have specific handling requirements).
Wildlife rehabilitators are trained exactly for these moments. Do not let pride or the inconvenience of a phone call lead to a bird being harmed. The American Eagle Foundation and the NWRA both maintain searchable directories of licensed professionals by location. Save those numbers before your next banding session, not after something goes wrong.